Architect and Build an End-to-End Web Application from Scratch using AWS Amplify


Table of contents
- Step-1: Have one "index.html" file
- Step -2: Configure AWS Amplify to host our web app
- Step-3: Create a Lambda Function to calculate the mathematics
- Step-4: Create a REST API
- Step-5 : Setting Up DynamoDB Database for storing data
- Step-6: Giving Permission to Lambda to write to the DynamoDB
- Step -7: Modify Lambda Function code
- Step-8: Generate test traffic
Hello Learners,
Welcome to 5th blog on my series of #Exploring_AWS_Services.
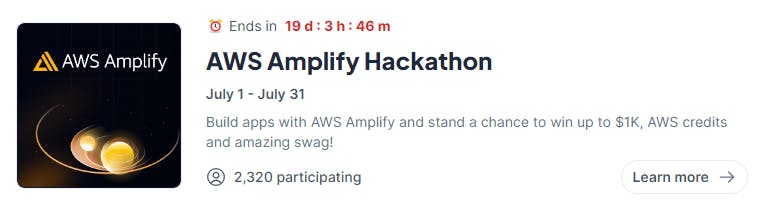
Just got to know that AWS, in association with Hashnode, is conducting a program called "AWS Amplify Hackathon". Check the details Here.
So, I became curious about the service and started exploring. And till I understood the advantages, I became a fan of this service. It's having amazing features such as easiest app deployment, by default dockerized along with CD integrated via SCM webhook.
In this blog, I will introduce to you guys another AWS Service called "AWS Amplify" 🎉
Though, we will be using other various AWS services across the project.
Let me quickly introduce you to those.
🎯 AWS Services Used in this Project:
AWS Amplify: AWS Amplify is a development platform that offers a complete collection of tools and services for developing scalable and secure web and mobile applications. It facilitates development by providing capabilities like authentication, storage, and API management.
AWS Lambda: AWS Lambda is a serverless computing solution that allows you to run code without the need for server provisioning or management. It scales your applications automatically in response to incoming requests and executes your code in reaction to various events, such as data changes or
user activities.
API Gateway: AWS API Gateway is a fully managed service that simplifies the creation, publication, and management of APIs at any scale. It serves as a portal via which applications can access data, business logic, or functionality from backend services such as Lambda functions or EC2 instances.
DynamoDB: AWS's DynamoDB is a fast and flexible NoSQL database service. It is intended to deliver low-latency performance at any scale, making it appropriate for applications requiring high availability and scalability. For durability, DynamoDB stores data in key-value pairs and automatically replicates it across various availability zones.
AWS IAM : AWS Identity and Access Management (IAM) is a service that allows you to regulate access to AWS services in a secure manner. IAM enables you to manage users, groups, and roles, as well as set fine-grained permissions to regulate who has access to which resources and can execute specified actions within your AWS account.
Now let's move toward our project setup.
Step-1: Have one "index.html" file
To build your web app, the first thing you need is an index.html file.
I've stored my index.html file in my GitHub Repo. You can use any code of your choice.
Step -2: Configure AWS Amplify to host our web app
For this, Go to the AWS Amplify page > Scroll down > Click on "Host your web app".
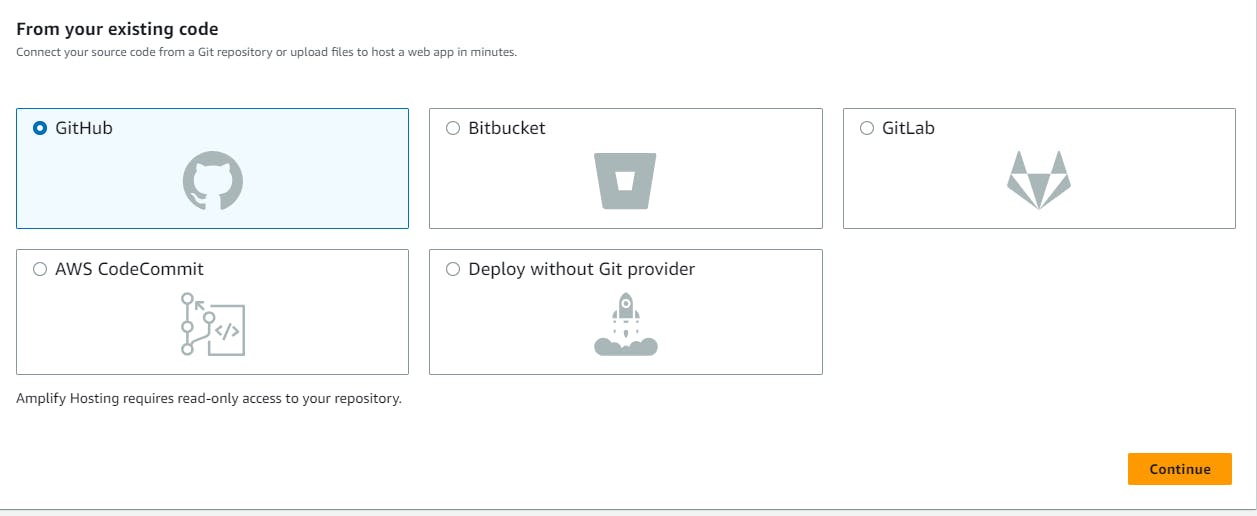
Now, you should see a screen asking you to provide the source of the code. You can give anything as per you, even the "Deploy without git provider" option too if you saved locally only. As I've saved in my GitHub, I'll use the "GitHub" option.
Click on 'Continue'.
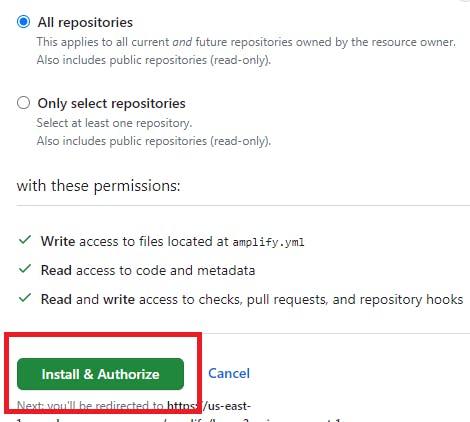
It will then ask you to authorize and install it. Do the same.
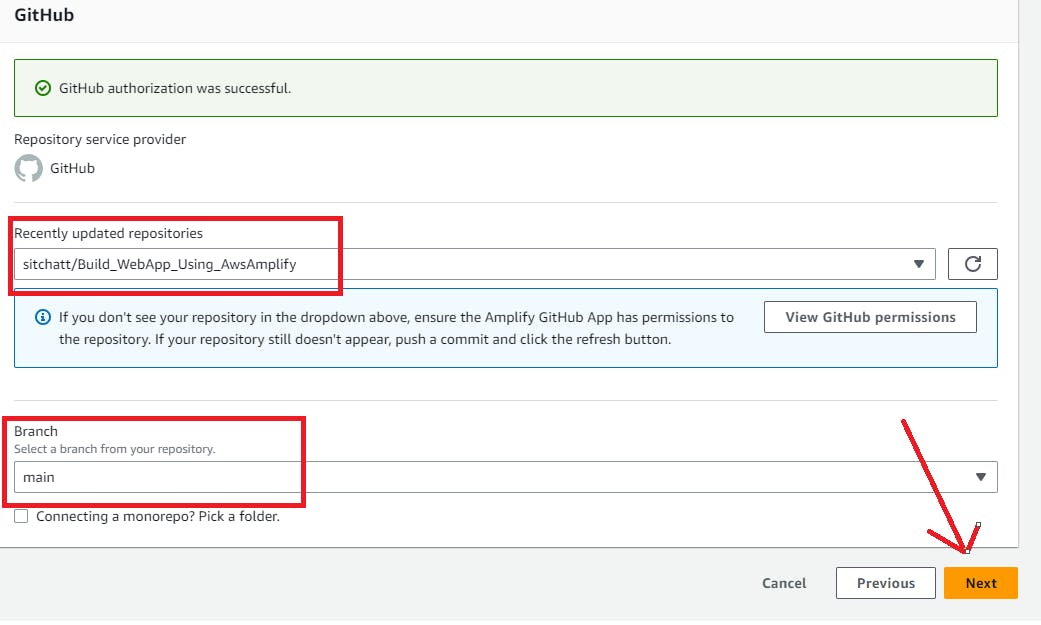
Then, it will ask you to add the Repository and Branch. Add yours and click on "Next".
Give your app a name according to you. Also, for this project, tick on to allow Amplify to automatically deploy all, as we have only one for our case.

Then simply "Save & Deploy".
You could see, the build process is already started . Isn't it amazing to see our app is deploying with just a few mouse clicks only? 😍
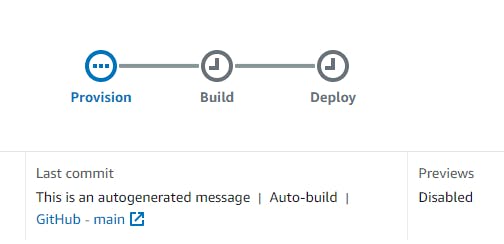
( It will take ~15 mins to deploy fully)
If you click on the build flow section, you can see the detailed view of this. You can see, which docker engine is provisioning, also you can see the Dockerfile and other logs.
Just expand the options and explore.
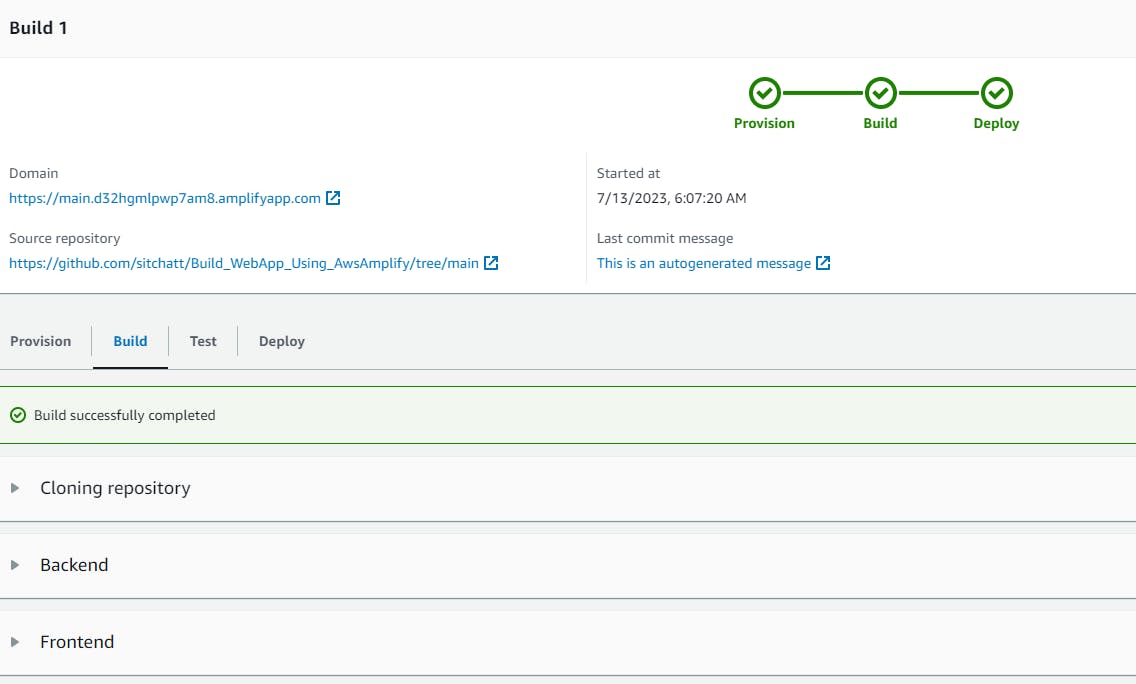
If you click on the domain link, shown in the above screenshot, it will redirect you to the newly built web app. And It's Runninggggg!! 🤩
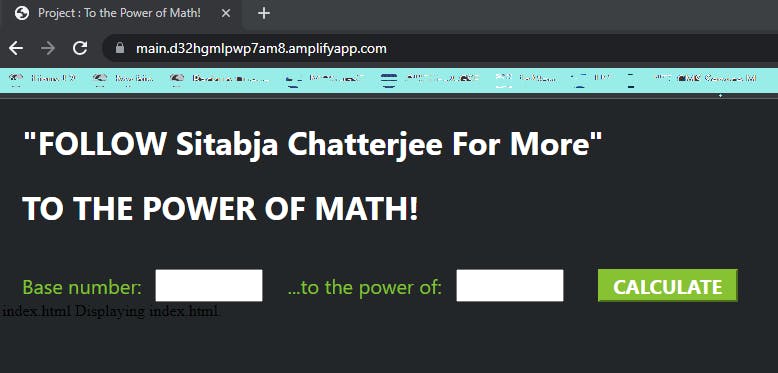
Step-3: Create a Lambda Function to calculate the mathematics
So, after our web app is deployed, our motto is to use that to calculate the power of our input.
For that, we need a code. And to run the code, we will use lambda function, as you know lambda function runs in response to some trigger.
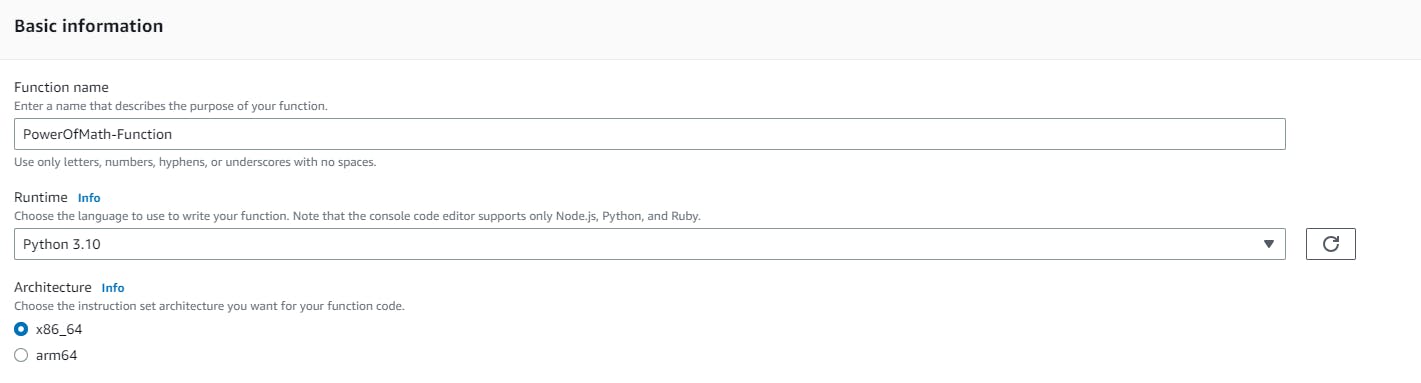
We will use Python code for this. So we will create a lambda function with Python 3.10.
As you are following this series, you should already know how to create a lambda function. I'm sharing the steps here again for someone new, for detailed screenshots, kindly check out my previous blogs.
Search for lambda > Click on Create function > Provide your desired name and choose runtime as Python 3.10 > Create function
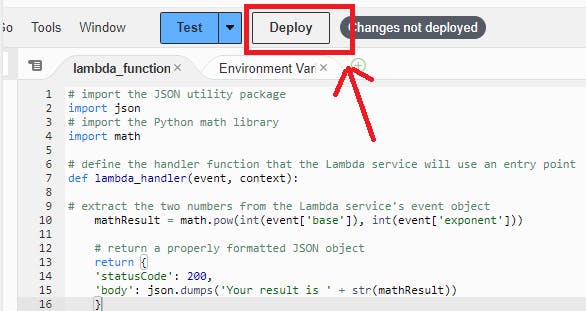
Now, we need to change to default code to functioning code. Then we need to Deploy the code in order to make the lambda function work accordingly.
# import the JSON utility package
import json
# import the Python math library
import math

# define the handler function that the Lambda service will use an entry point
def lambda_handler(event, context):

# extract the two numbers from the Lambda service's event object
    mathResult = math.pow(int(event['base']), int(event['exponent']))

    # return a properly formatted JSON object
    return {
    'statusCode': 200,
    'body': json.dumps('Your result is ' + str(mathResult))
    }
If you are facing an issue copying from here, check out the file HERE.
You can test the function also to cross-verify. I've done it and it passed successfully.
You can try as shown below.

Output:- Status code should be 200 , as you can see, we are getting the answer also.

Step-4: Create a REST API
As of now, we have our web app and also one lambda function to handle the calculation part. Now, as we did trigger manually just now, our users aren't going to log in to the AWS console and trigger the event manually, right? This is not at all a realistic approach.
So, to invoke the lambda function, we need a public endpoint or URL, that can be called to trigger the function.
For this, we will be using the AWS API gateway to create a REST API.
So, navigate to the API gateway console > Build a REST API.

Choose Protocol as REST, and in the next section, choose New API, Provide any name and then click on Create API

Now, click on "Resources" , Make sure "/" is selected, drop down and click on "Create Method"

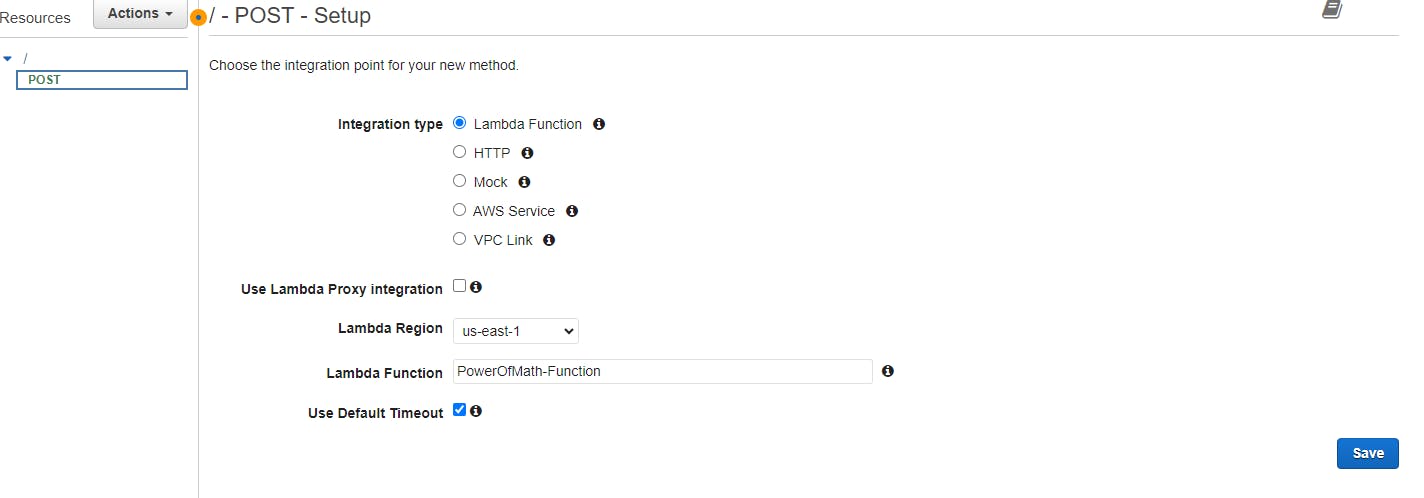
Now , we will select our Method as "POST" as users are going to send data as input.
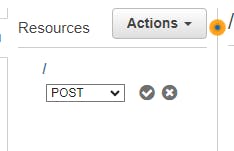
Click on the ✔️(tick) icon beside "POST" dropdown.
Fill that as shown below and click on "Save". Click on "OK" if any pop-up appears.
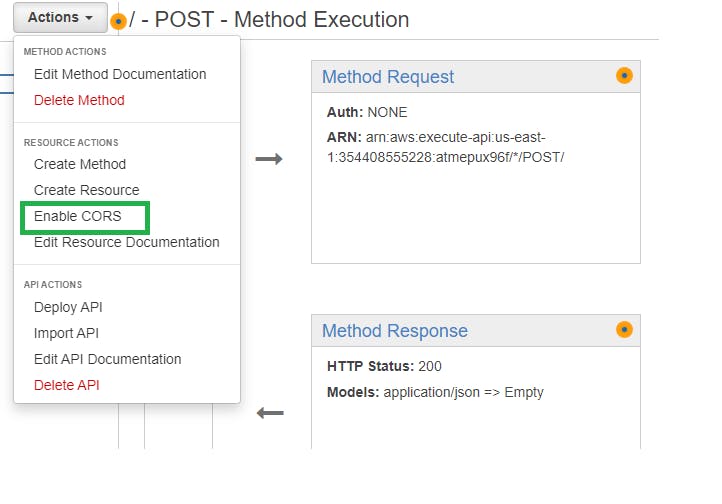
Now again, drop down the Actions, and click on "Enable CROS".
facilitating CORS (Cross-Origin Resource exchange) in a REST API allows client-side web applications from various domains to access resources, facilitating cross-domain data exchange while ensuring security.
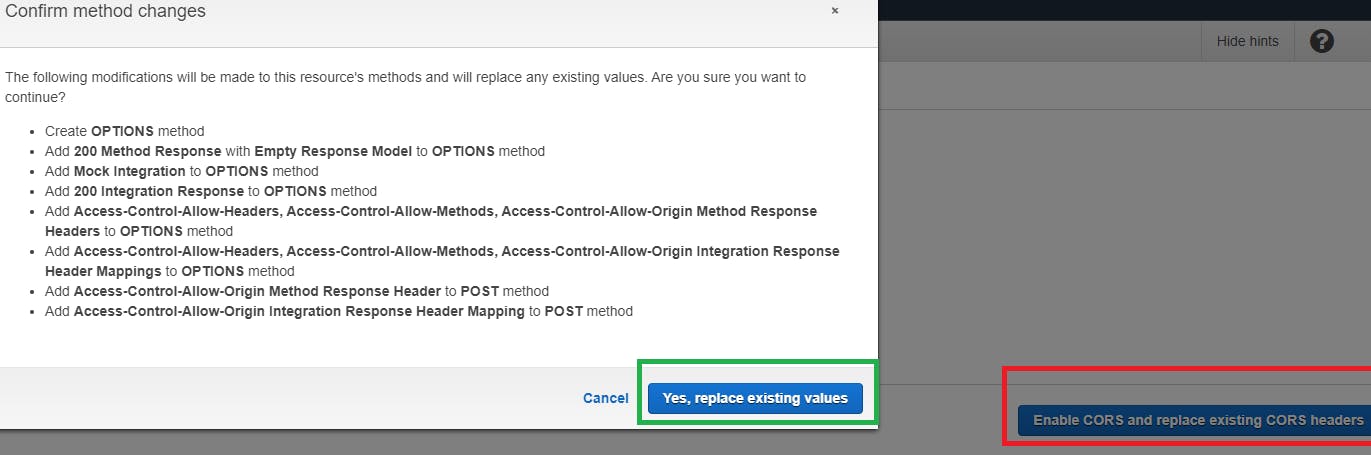
Now, click on Enable CROS (red mark) and Replace the existing value.
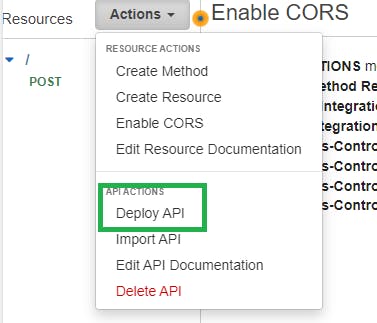
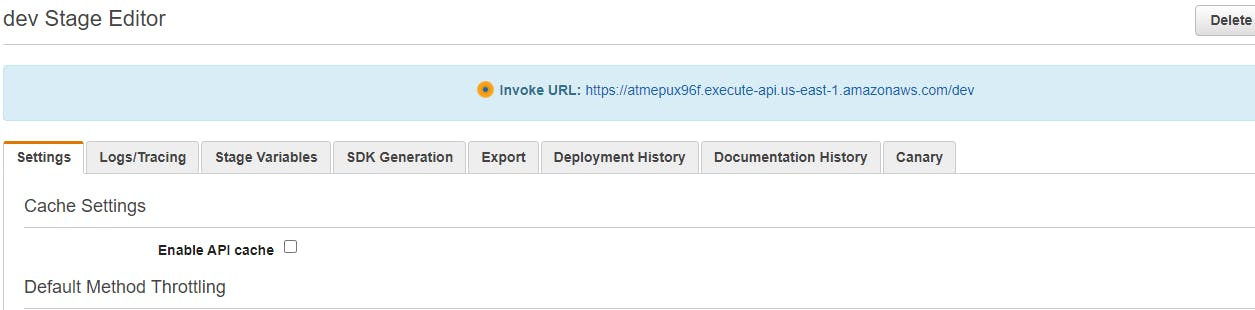
Then, Deploy the API with deployment stage on your wish such as dev, prod etc.
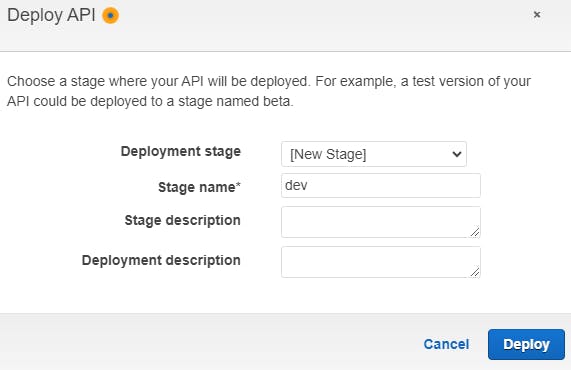
Note: Save the invoke URL link for furture purpose.
Step-5 : Setting Up DynamoDB Database for storing data
Search for Dynamo DB in AWS console.
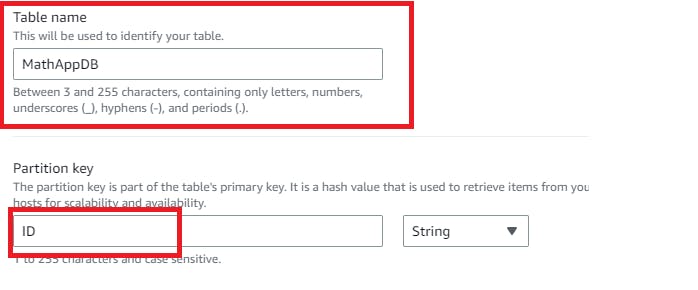
Click on create table on the overview page.
Give the database name and in Partition Key section, type "ID" and create table keeping rest as default.
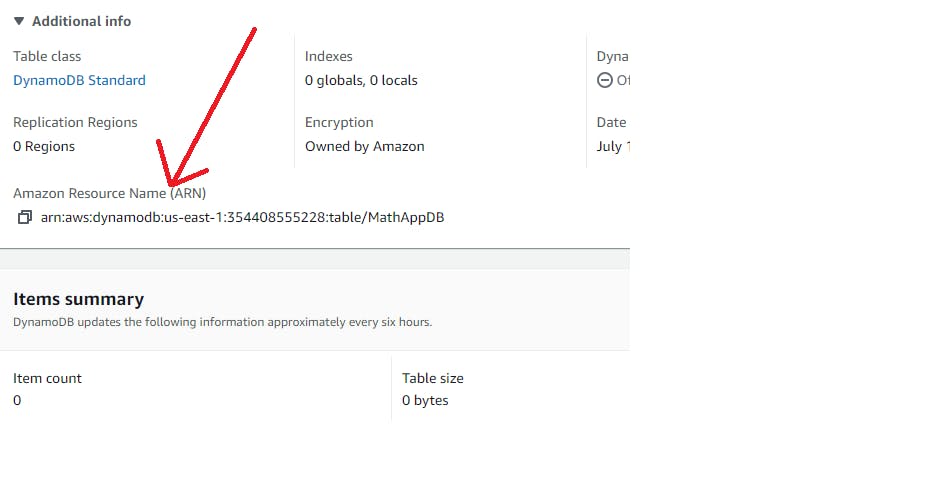
- Navigate to the database , in General Information, expand the Additional Info and copy the ARN and save locally for future use.
Step-6: Giving Permission to Lambda to write to the DynamoDB
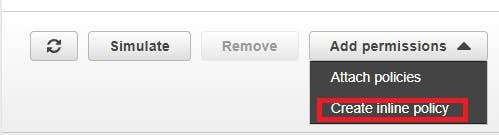
Head towards the function > click on configuration > Permission > Click on Role Name.
On the new window, on the permission policy section, click on "Create Inline Policy"
Change the policy
{
"Version": "2012-10-17",
"Statement": [
    {
        "Sid": "VisualEditor0",
        "Effect": "Allow",
        "Action": [
            "dynamodb:PutItem",
            "dynamodb:DeleteItem",
            "dynamodb:GetItem",
            "dynamodb:Scan",
            "dynamodb:Query",
            "dynamodb:UpdateItem"
        ],
        "Resource": "YOUR-TABLE-ARN"
    }
    ]
}
Note: Make sure you add your saved ARN here before implementing.
Click on Next, Give a name, and Create Policy.
Step -7: Modify Lambda Function code
Hey, did you have one glass of water? I know you are sitting ideal for soo long and now it's time to have some water.
You have the water, meanwhile, let me share you with the updated lambda function code which now can able to handle DynamoDB as well.
Change the lambda code as mentioned and Deploy. You will find the code HERE.4
Note: In the Line number 14th, make sure to change the table name to your table name.
Step-8: Generate test traffic
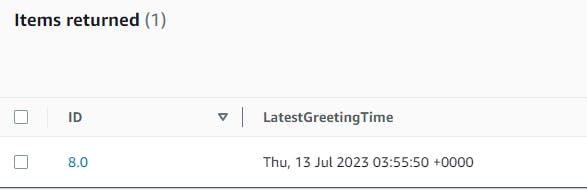
Now we will generate a Test Event and will see if the output is getting stored in DB or not.
After test event trigger, move to DynamoDB page > From left hand panel expand tables > Explored Items and you will see our output. ☺️
We also need to put the API entry point to our index.html code.

As soon as you pushed the change, automatically it's getting deployed by AWS Amplify, which seems like a CD Pipeline with the webhook trigger.
It's truly a great feature I must say! Did you know that before? Let me know in the comment section.
🤩🤩🤩🤩 And finally, if you check your web app now, it's giving the result! ✅

If you made this till now, you are already an AWS Star ⭐✨. Treat yourself with something good today as you made it happen 🥰.
💖 Thanks for being with me till the end. I hope that I provided you with some useful knowledge. Don't forget to spread the blog to your friends and community. 💖
Feel free to ask any questions, I'm just a DM away.👍
Follow Sitabja Chatterjee for more content! ✌️