

Hello Everyone,
Though, after a gap for educational and professional causes, again back with something very new, at least to most of you.
As you know, I love to explore new tools and technologies, exploring new AWS services and showcasing the use of those in the community is my all-time pleasure. 😊 So today, let's explore another great AWS services which might be on-demand in the near future.
It all started when I recently heard the term "Event Driven Architecture" in my current company project as it's new in the implementation phase, and I became curious and started learning about it.
Gradually I understood the basics of this architecture and how it helps in performance.
EDA encourages services and components to be loosely coupled. Events serve as the communication channel, enabling components to cooperate without being directly dependent on one another. Through this loose connection, components can develop independently, enhancing the system's agility, scalability, and ease of maintenance. As long as they comply with the event contract, changes to one component do not necessitate changes to the others.
I'll try to add more points in my LinkedIn Post, here let's start with hands-on.😎
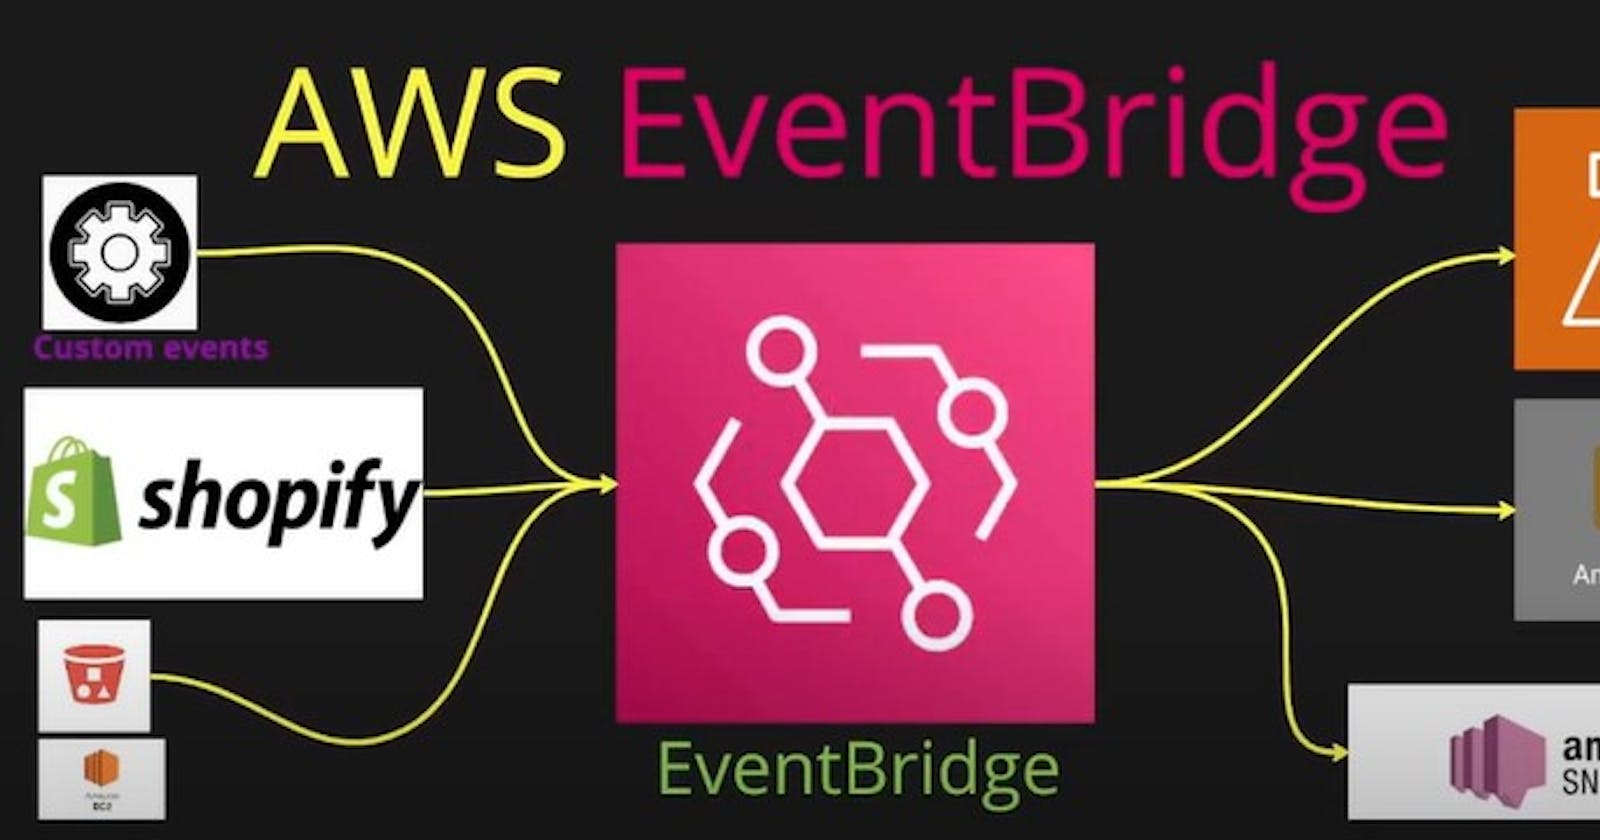
I've chosen Amazon Eventbridge for its various advantages over other cloud providers.
AWS Event Bridge Supports 3 types of event sources.
AWS inbuilt services
3rd Party SaaS apps such as Shopify
Custom event
Here we gonna integrate Shopify, a popular e-commerce site, as input and we are going to trigger events.
Let's see what we can do.
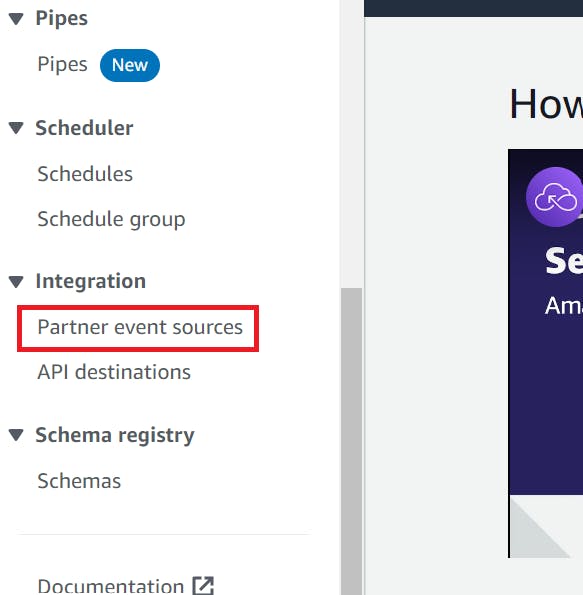
Step -1: Integrate Shopify
Search for AWS Event Bridge and click on the console. and from the left scroll bar, click on "Partner Event Sources".
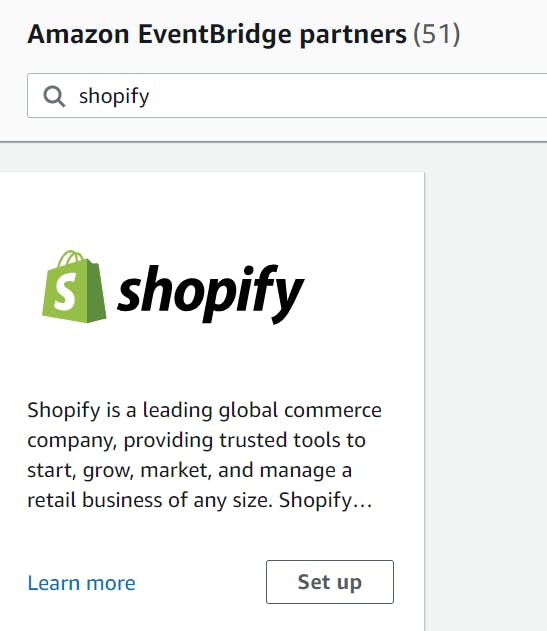
Then, select "Set Up" after searching for Shopify.
Then, as per Step-1, save the account ID in a notepad, and as per Step-2, click on the Shopify Website Link.
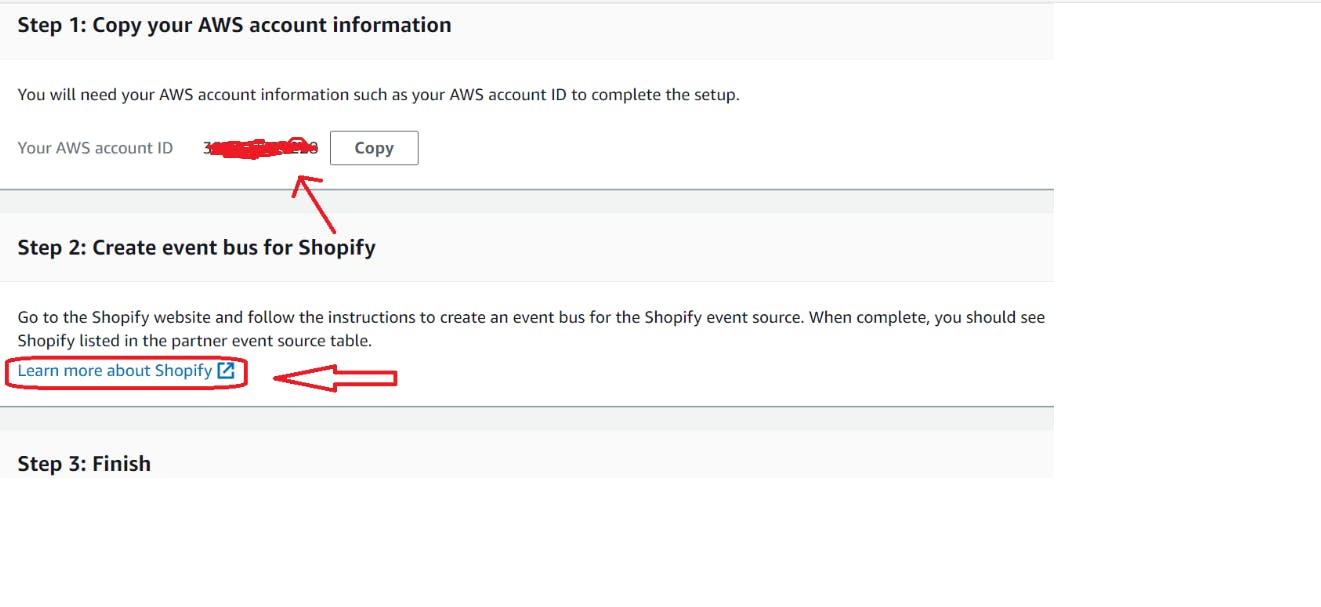
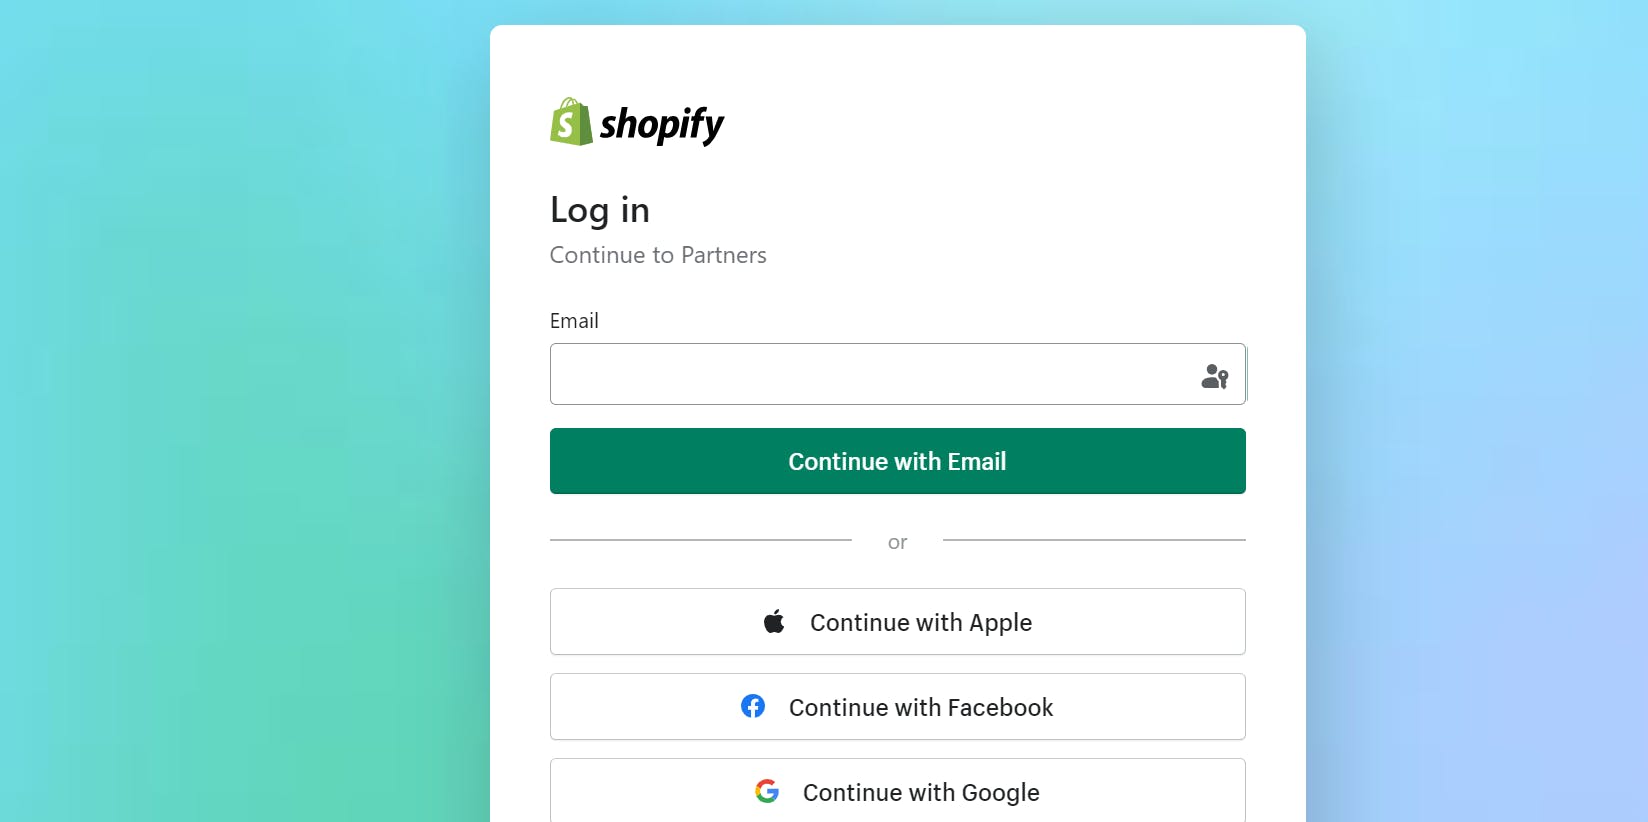
Register with your preferred method. I chose my email id. It's quite safe, so no need to worry.
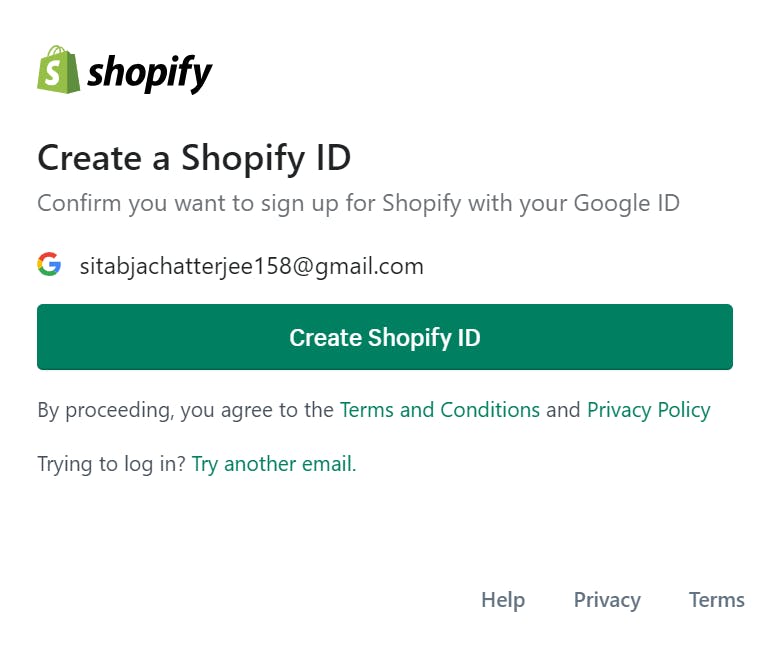
Now click on, 'Create Shopify ID'
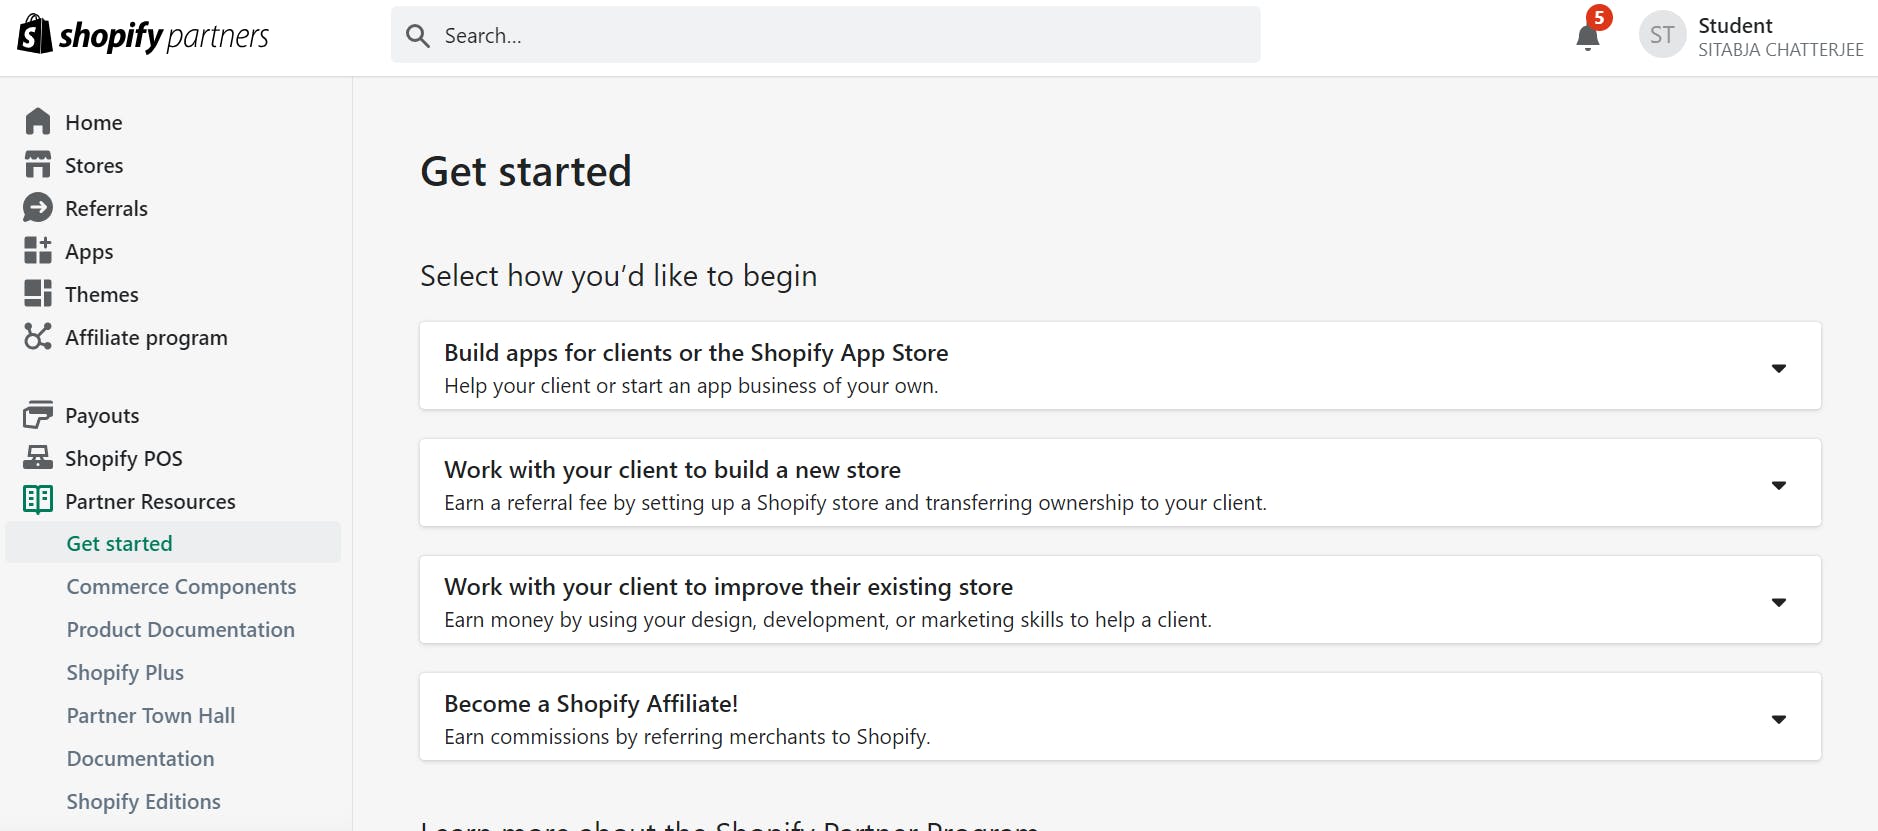
Now, click on "+ Create new partner account" and fill in all the details it will ask for. You can give any random input if you don't need it after this. I'm not posting each screenshot as it will make the blog unnecessarily long. For any issue, I'm just a LinkedIn DM away.
After this, it will look like below. Verify you are getting the same page.
Step 2 : Create an App in Shopify
Click on Apps > Create App
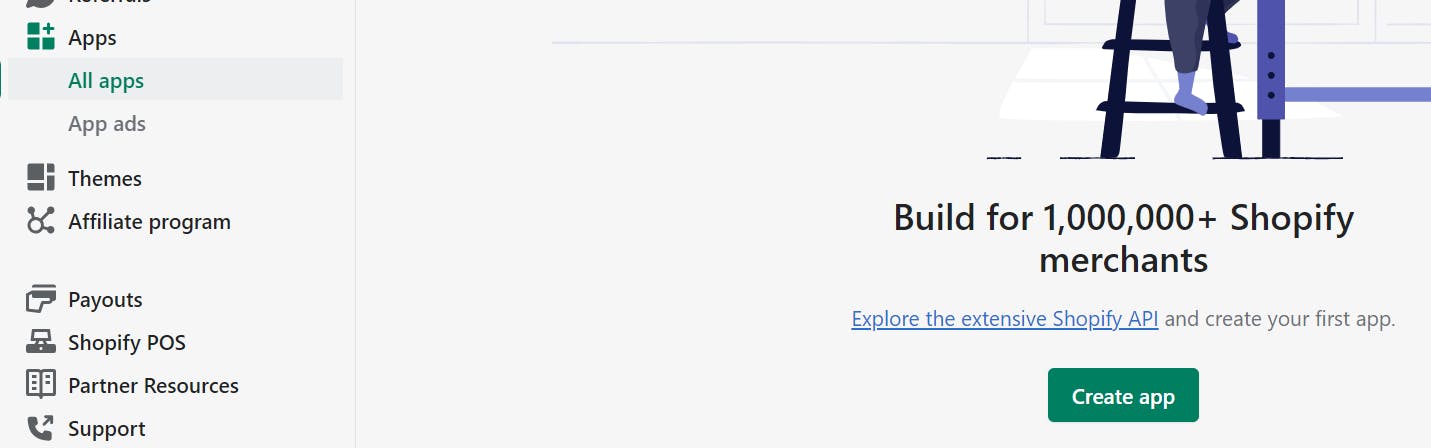
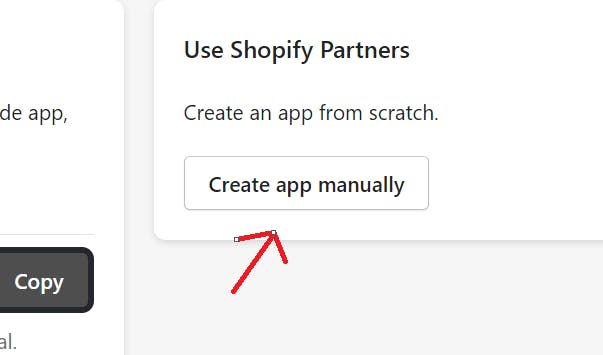
We are going to create the app Manually to test the event. Click on the option and give any name.
Now, click on App Setup from the left bar and then go down the page and you will find the option "Amazon Event Bridge". Click on 'Create Source'.
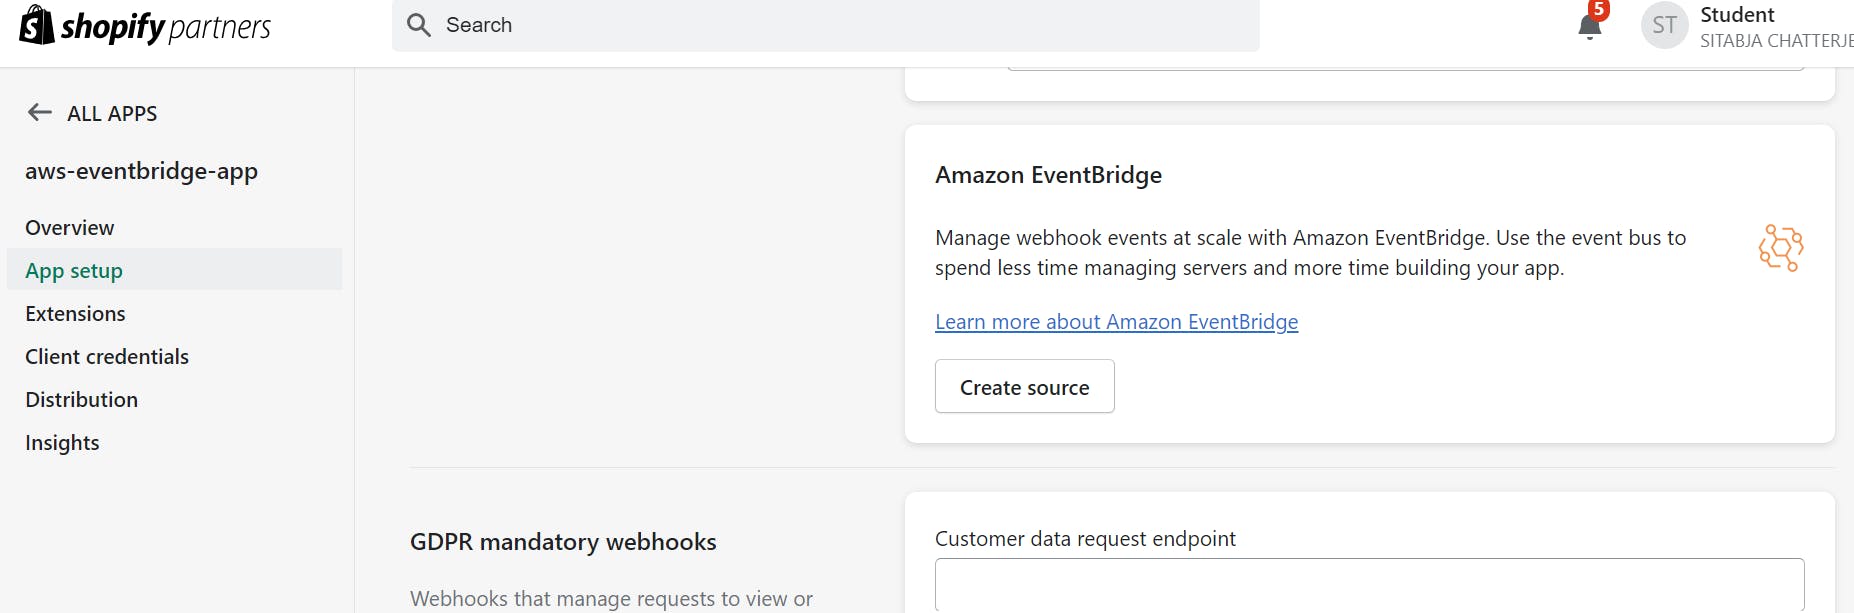
Now, give the:
Account Id you saved before in Notepad
Region (I've chosen N. Virginia)
Your desired name
Now if you come back to the AWS console and check the partner event sources, you will see newly create source is added.
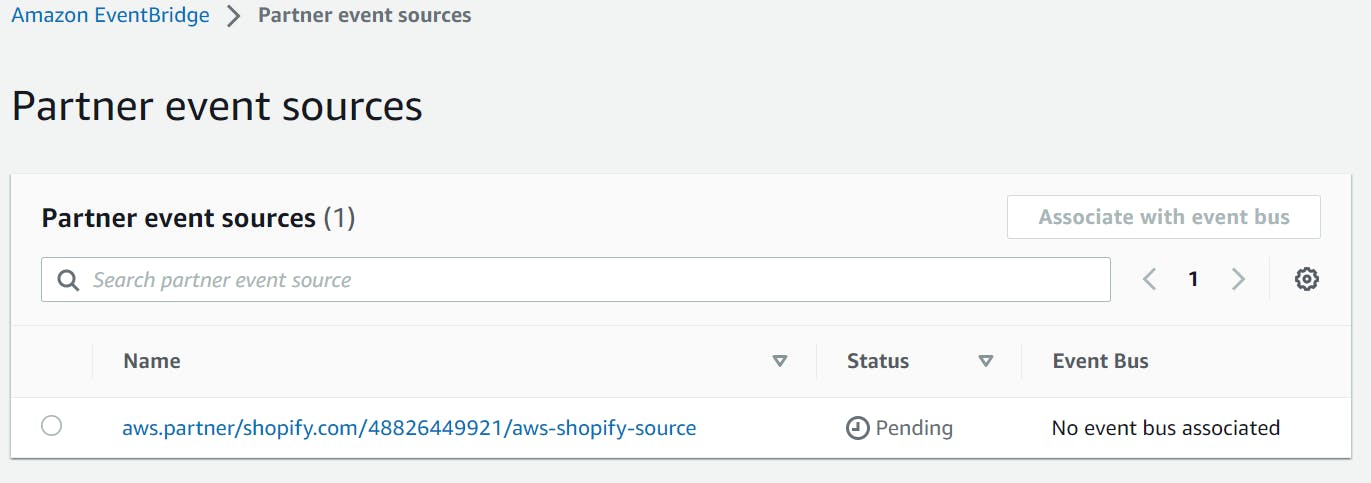
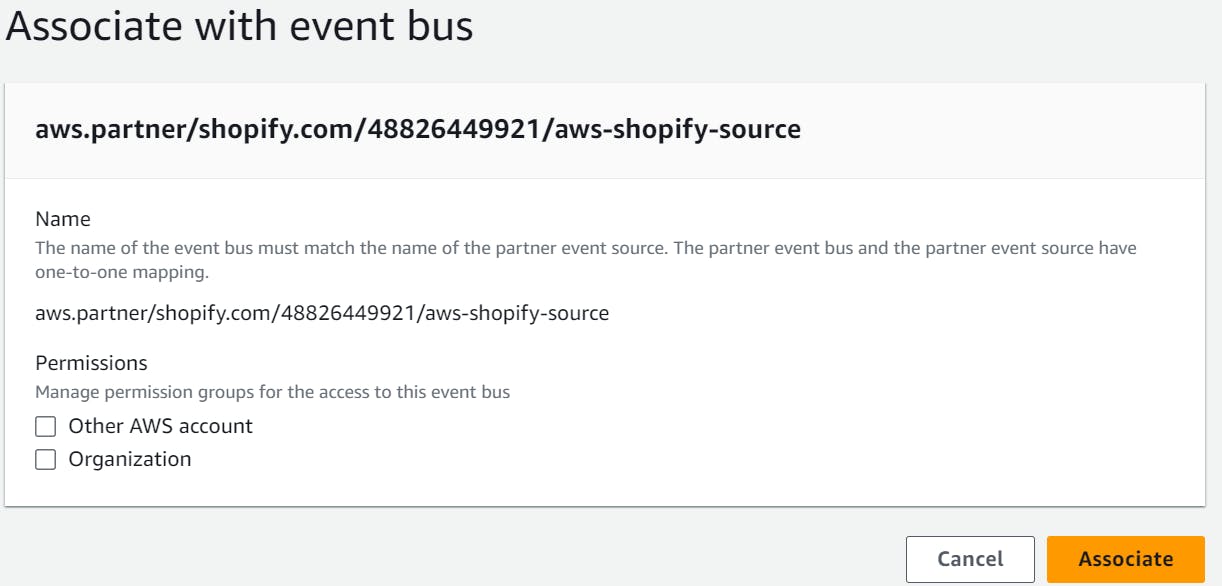
Now, don't take the stress of its pending state, click on it, go inside, and then click on "Associate with Event Bus".
The Event Bus in AWS EventBridge is a central messaging system that facilitates event-driven architectures and integration workflows by allowing communication and coordination of events between various services and applications within the AWS ecosystem.
When you click on "Associate", AWS will create a New Event Bus for you.
You can go to "Event Buses" and check your Event Bus.
Now, Source is set, and Event Bus is set. What's Next?
Think of it as a situation in NH. We left our home which is our source and we boarded a bus. Now, we need to know, where to land. In between there will be a toll plaza who having some rules and regulations to check and after checking only we can move forward to our target destination.
In the same way, we need to set up the Target now and also rules to pass to redirect events to different targets or ignore events as convenient.
Step - 3: Creating Rules for Our Events
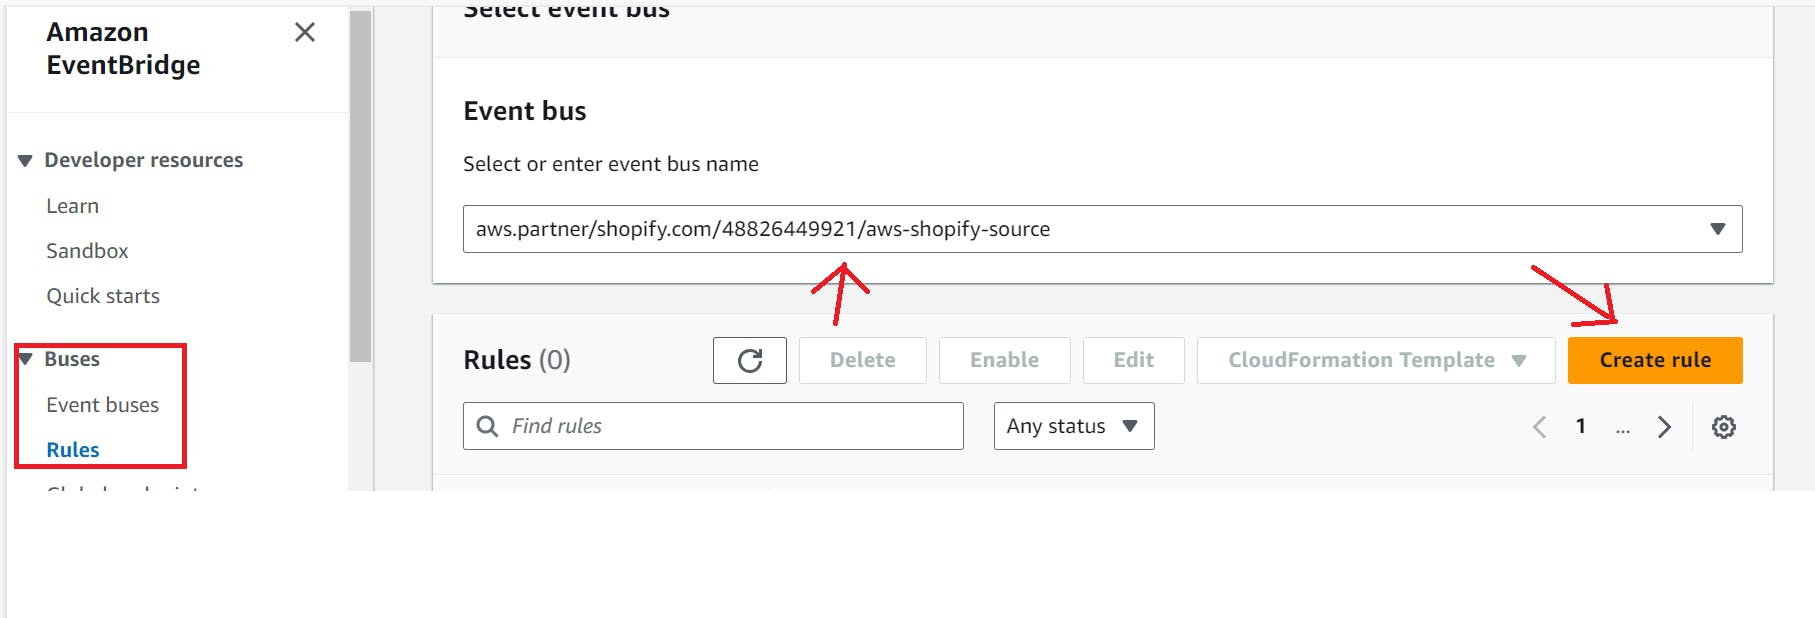
To Set up a rule, Click on Rules from the left bar, choose the correct event bus, and click on Create rule.
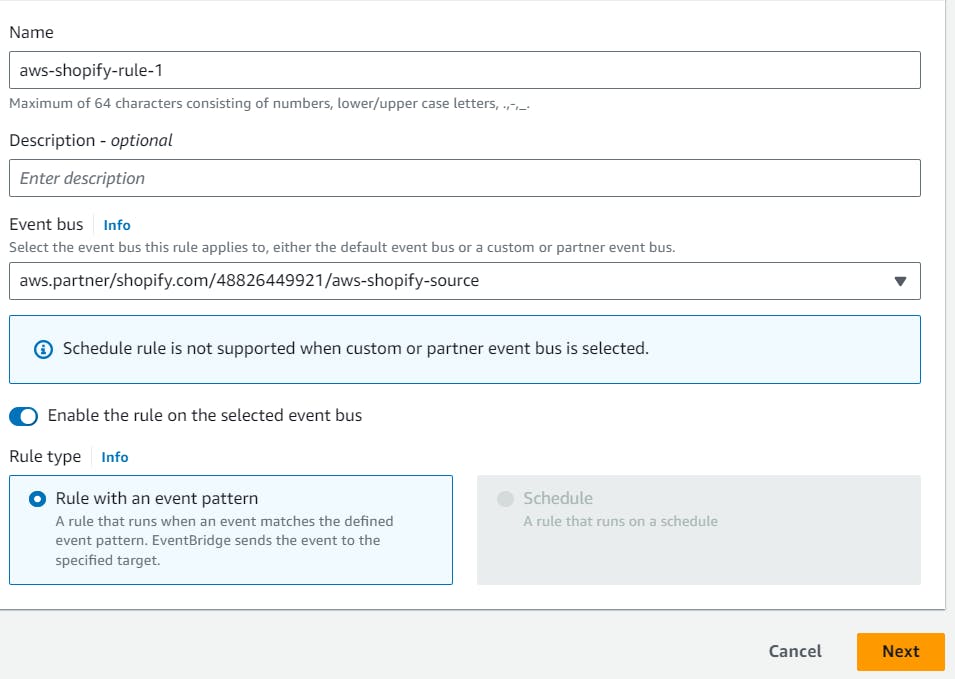
Give Rule name, Choose Bus again, and click on next.
Now, click on next and it's time to set the rule and the payload we are expecting. Click on the options shown in the screenshot. Then go to the Github folder , move utmost down, and copy-paste the Shopify pattern and payload.
For payload remove unnecessary commas, you may get in line no 19. JSON format should show as Valid.
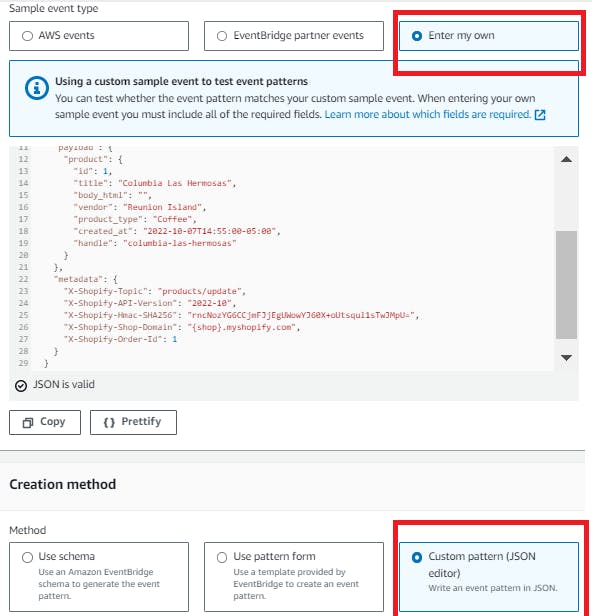
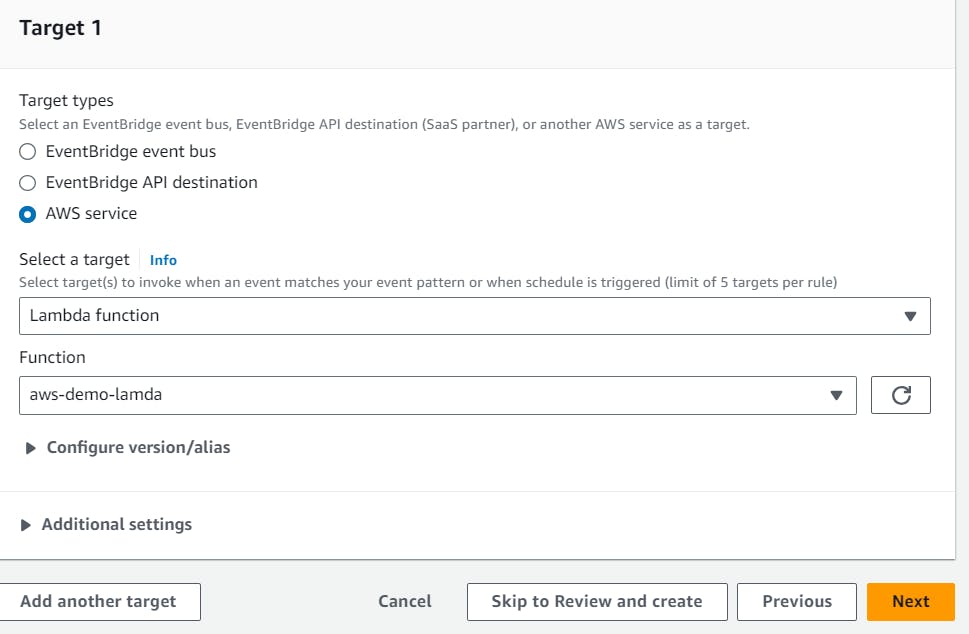
You can click on the "test pattern" option (just above next) and if it's green, Click on "Next" and it's time to choose the target.
Create a Lambda Function:
we will be using a lambda function as our target. So create a default lambda function.
After creating just come down and add the below line in the code and deploy.
console.log('event:', event)
This line logs the value of the event parameter to the console before executing the rest of the code.
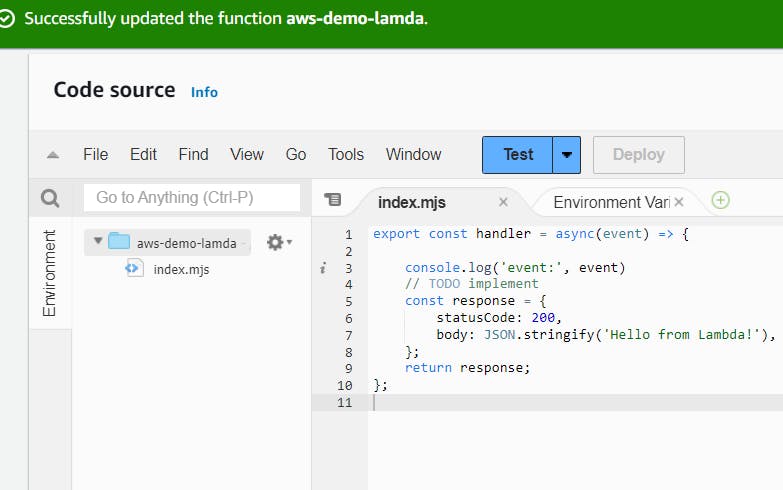
Functionally, both code snippets perform the same task of returning a response with a status code of 200 and a JSON body of "Hello from Lambda!". The presence of the console.log statement can be used for debugging or logging purposes during development.
Now fill in the details as shown in the screenshot > Next > Next > Create Rule.
Now finally 🤩 the whole integration is done. Sit Back, Have some water, and let's now test our project 💖.
Move to Shopify, create a product and it should trigger the event. On the first go, you will not find the option to add product. You have to create a store first. I'm leaving it to you guys to explore 😶
Once done, you will see a new cloud log group is generated and the log showing there.
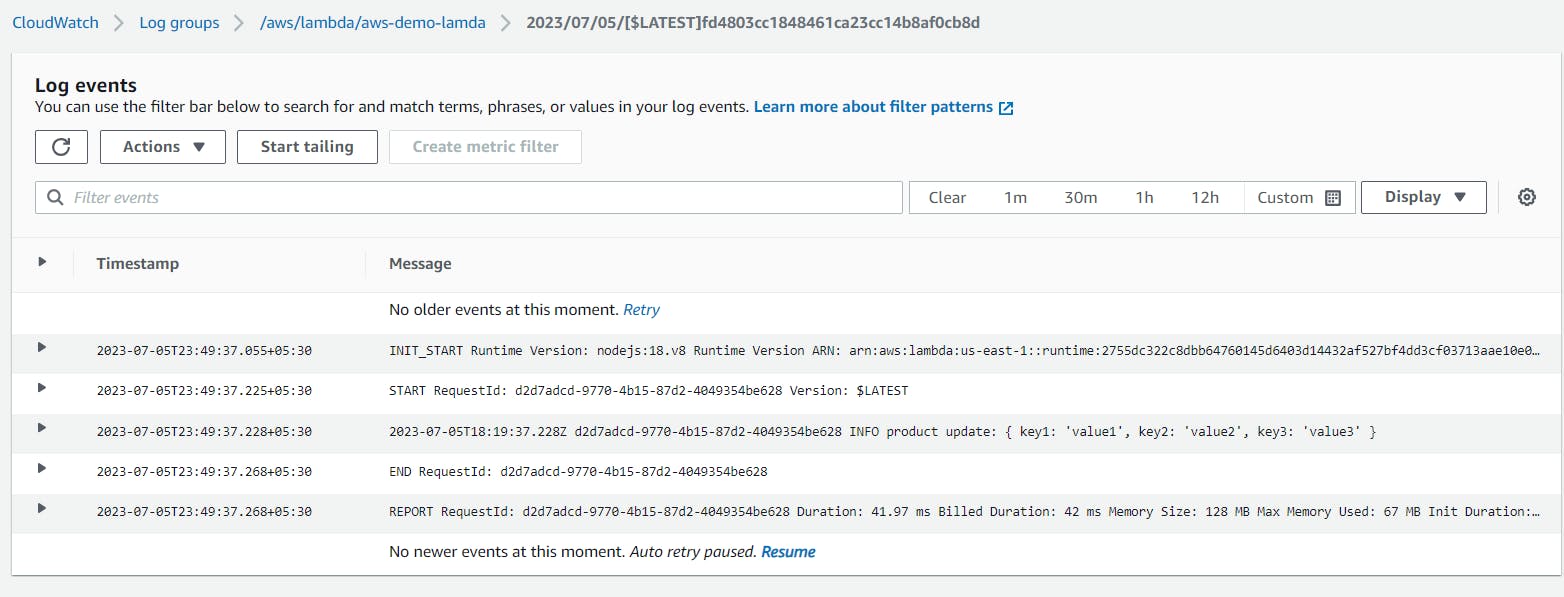
Hurraaayyyy 🤩🤩🤩🤩🤩
Thanks for being with me till the end. I hope that provided you with some useful knowledge. Don't forget to spread the knowledge to your friends and community.
Feel free to ask any more questions or for help if you need it.👍
Follow Sitabja Chatterjee for more content! ✌️